This laboratory considers system modelling and control as it applies to
a levitating magnetic mass.
Here you will find resources on how you can set up a levitating magnet and you may start by watching the video tutorial below. After watching the tutorial, you may proceed on to the lab sheets to explore further and write the control codes and set the parameters to make the magnet levitate.
In this video tutorial, we'll be going through the entire laboratory on how you can levitate a magnet.
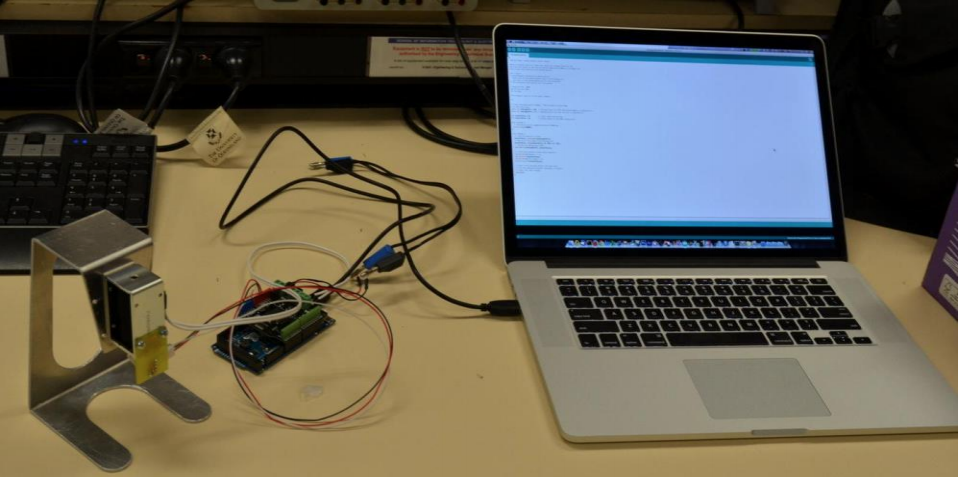
The following setup is to be achieved. This guide will step you through the process of constructing the maglev system. Make sure you follow every step precisely to prevent later issues.
The electromagnet plunger requires wrapping of tape to stop it from slipping / falling from the electromagnet. Wrap one turn of tape around the plunger.
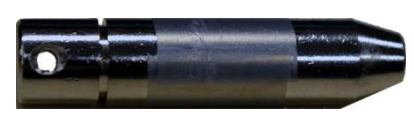
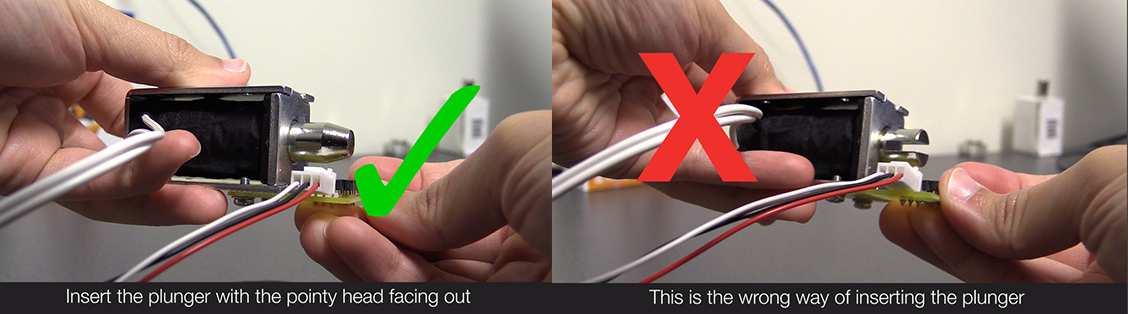
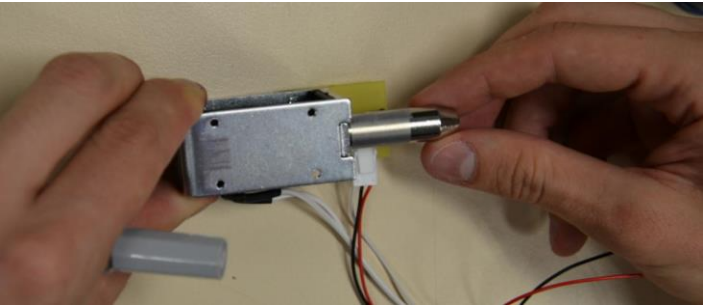
Insert the plunger into the electromagnet. Note the direction of insertion. Make sure it is a snug fit such that it is difficult for the plunger to slip.
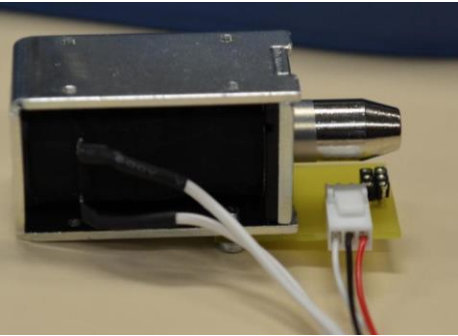
Your setup should now look similar to the following:
Put a piece of tape onto the top of the electromagnet as shown. This is an important step for later, as if the magnet accidentally collides with the sensor, the sensor leads will press against the plunger, causing a short circuit.
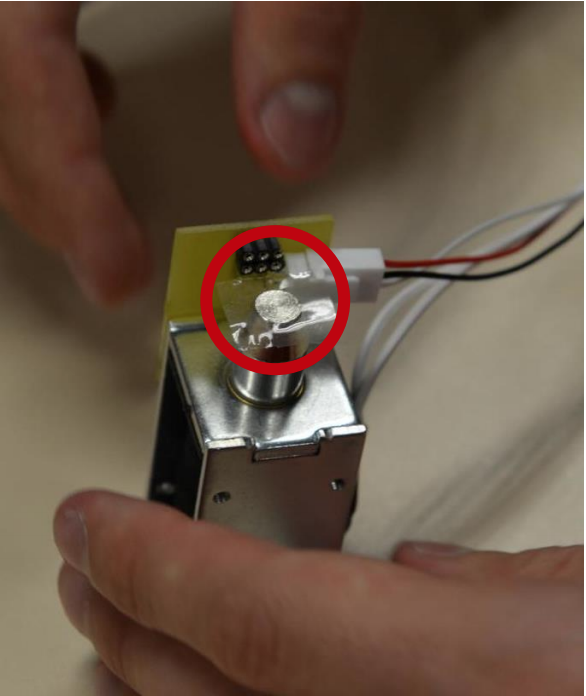
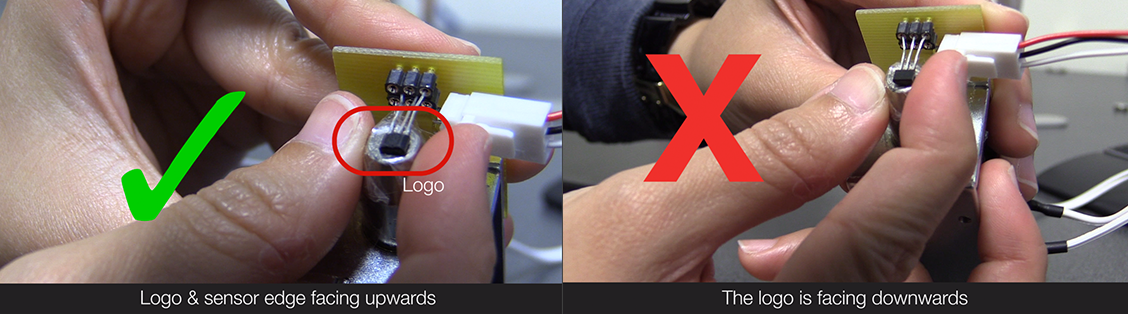
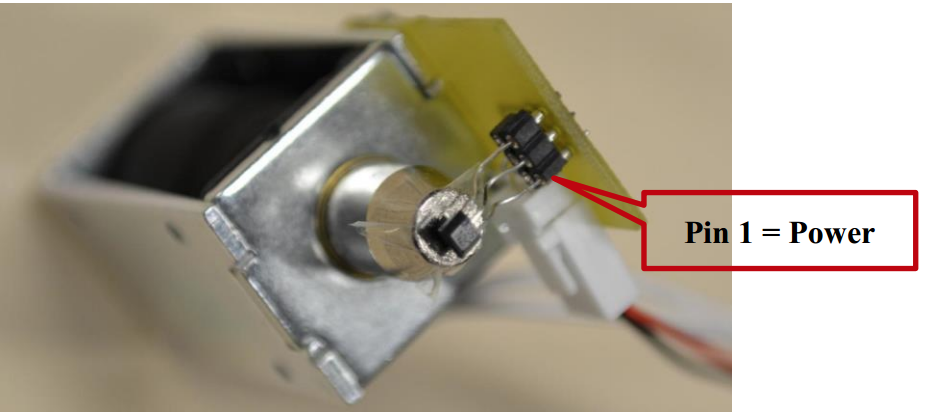
Insert the sensor, noting the direction (sensor edge + logo facing upwards). Inserting the sensor incorrectly may damage the sensor.
Remember to add tape to the top of the plunger before adding the sensor.
Place tape over the top of the sensor, holding it firmly against the electromagnet plunger as seen below.
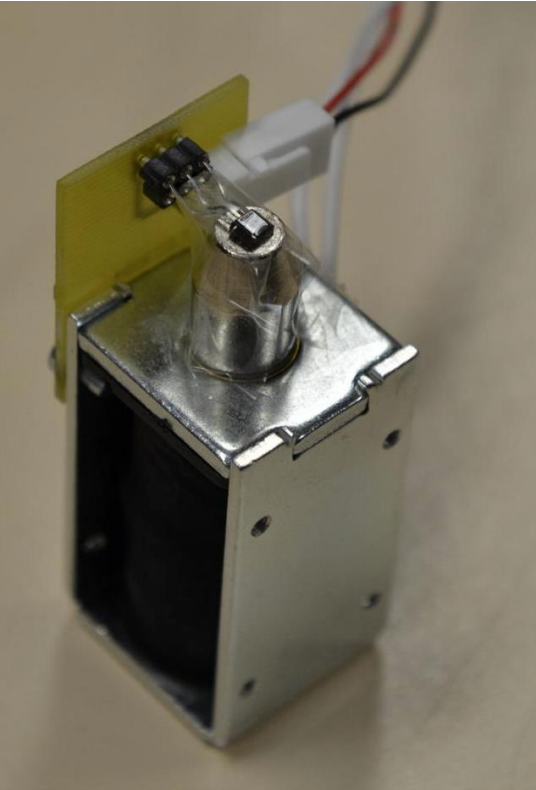
It might help to wrap a piece of tape over the entire plunger and solenoid assembly
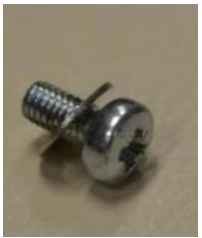
Find 4x washers and 4x bolts and place the washers on the bolts in your kit.
Then add the LeviLab Magnet Shield bracket to the side of the solenoid that is opposite to the side with the solenoid connection circuit.
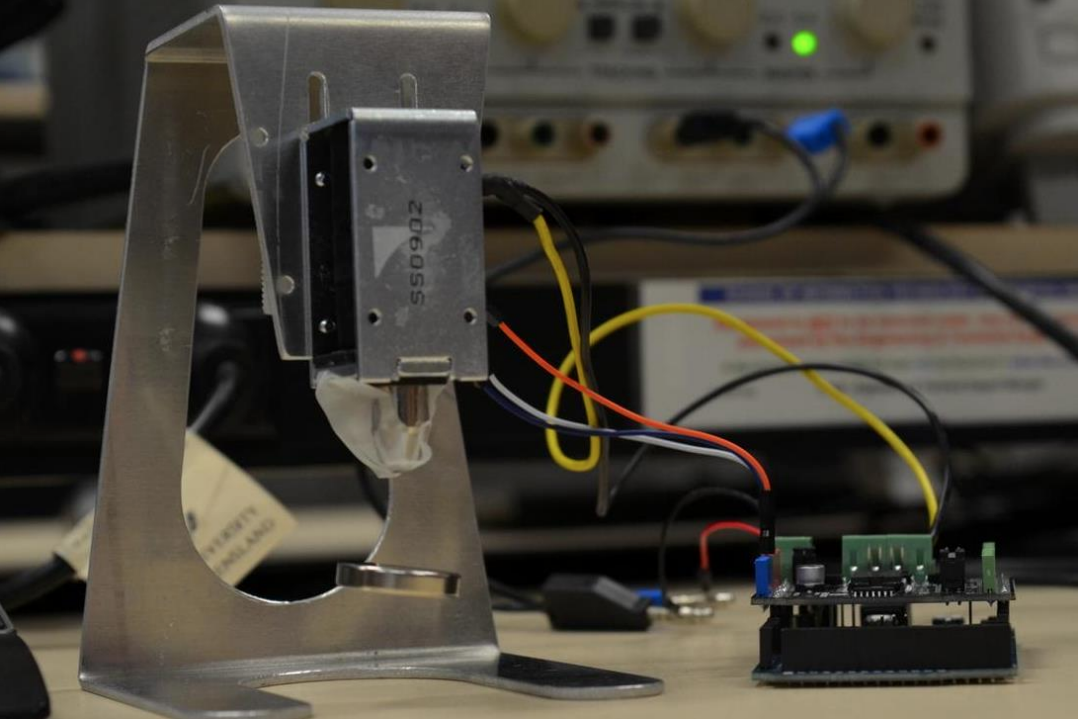
Mount the electromagnet onto the holder as follows:
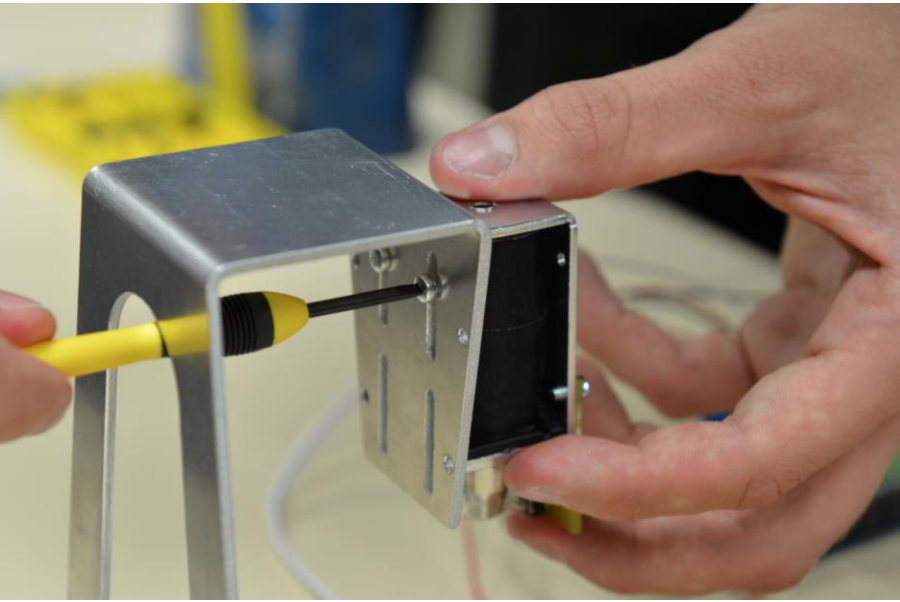
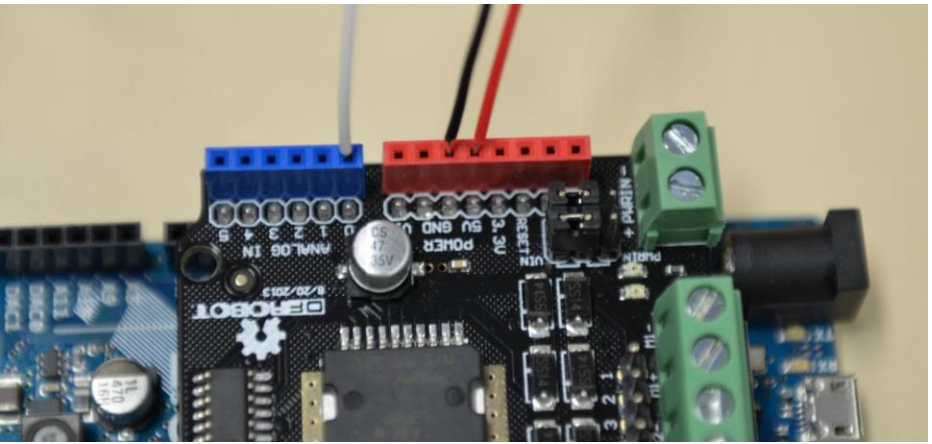
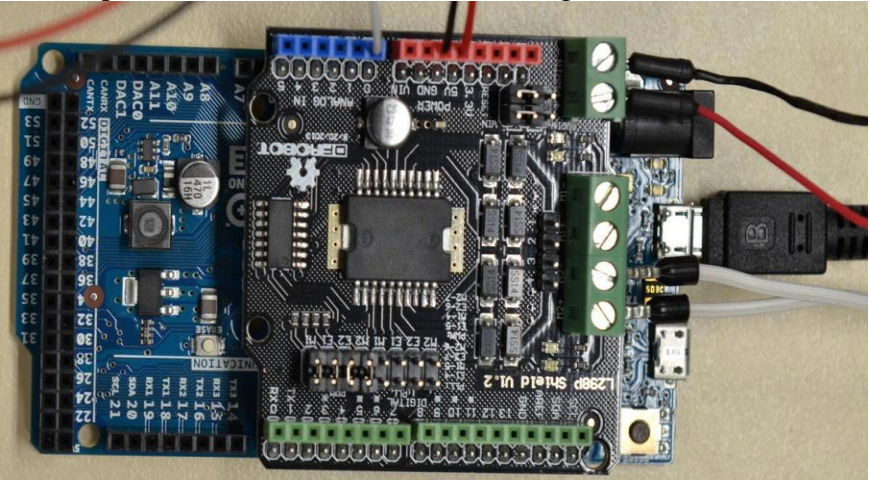
Plug the three wires coming from the hall-effect sensor into the Arduino Motor Shield as seen below. The sensor requires +5v (RED) , GND (BLACK), and the analog sensor output (WHITE).
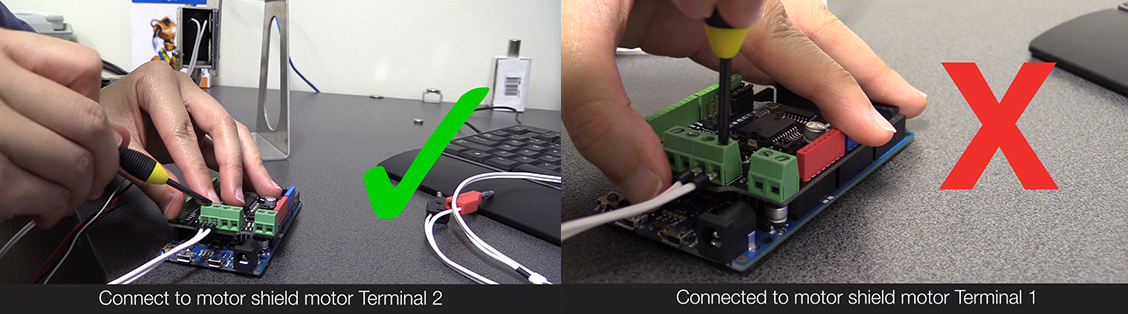
Insert the white cables leading from the solenoid (electromagnet) into the motor shield motor terminal 2 as indicated below.
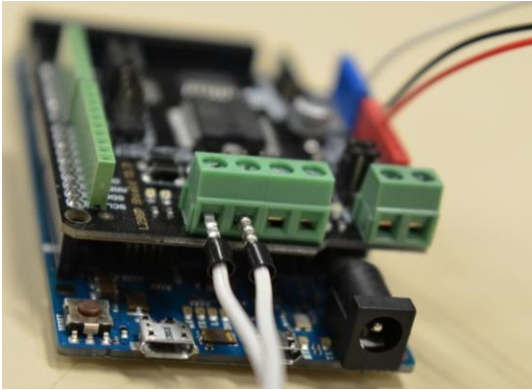
Note that the solenoid is (by default) connected to the top or left pair. If you connect it to the righ, you’ll have to update the software in several places.
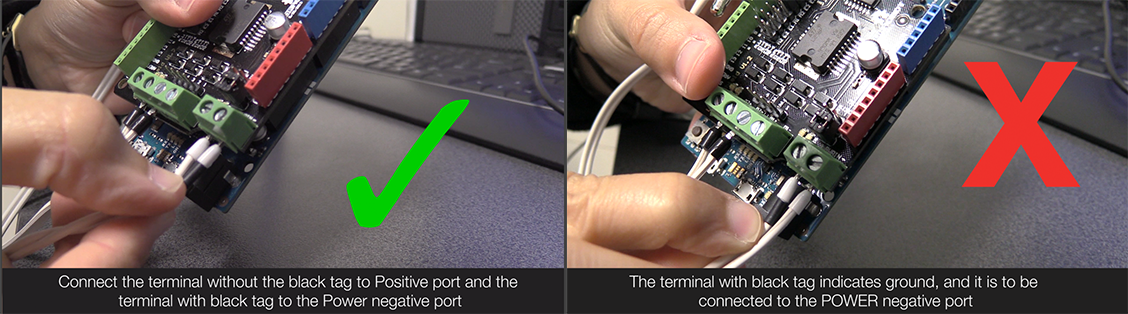
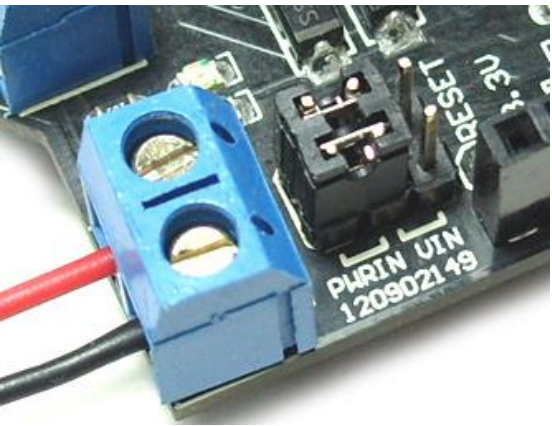
Then connect the external power supply to the board and remember to set the power source selection jumpers (PWRIN) to the left (or the side using PWRIN).
Your setup should now look like the following:
Begin coding and start levitating things!
Here you will find your lab resources available for download. Just simply click on the links and get started.
- LeviLab I: System Modelling
Supplemental information:
- LeviLab Arduino Code Template
- Hall Effect Sensor (Allegro A1302) Datasheet
- Updated Hall Effect Sensor (Allegro A1308) Datasheet
- Arduino Motor Shield (L298N) Manual
- Neodymium magnets manufacturer rating
- Solenoid Datasheet
Here you will find some of the common errors to avoid